The Best Fluffy Pancakes recipe you will fall in love with. Full of tips and tricks to help you make the best pancakes.

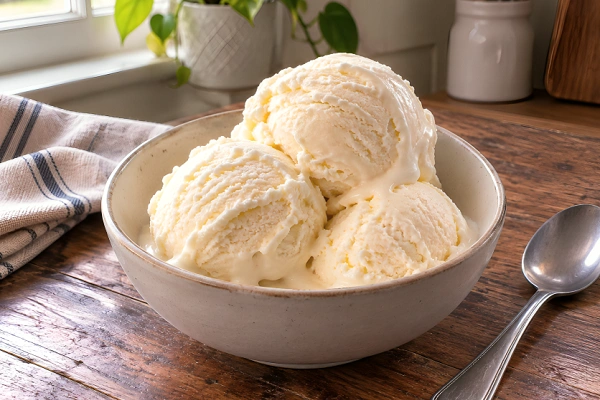
You don’t need an ice cream maker to get soft, creamy homemade ice cream. This no-churn method relies on just two base ingredients: whipped cream and sweetened condensed milk and a few minutes of mixing.
There’s no custard to cook, no ice-and-salt setup, and no special equipment. Just a bowl, a mixer, and a freezer-safe container.
The result is a rich, scoopable ice cream with a texture close to what you’d get from a machine, as long as you pay attention to a couple of key steps: how far you whip the cream, and how gently you fold everything together.
Ingredients
To make this simple no-churn ice cream, you’ll need just a few basic ingredients:
- Two cups (480 ml) of heavy whipping cream, chilled
- One can of condensed milk with added sugar (14 oz or 396 g)
- 2 teaspoons vanilla extract
- Some salt, if you want it (it helps balance out the sweetness)
How to Make No-Churn Ice Cream at Home (Step-by-Step)
1. Whip the Cream
Add the cold heavy cream to a large mixing bowl that has been chilled beforehand. Using a hand mixer or stand mixer, whip on medium-high speed until stiff peaks form; this means the cream holds its shape and the peaks stand straight up when you lift the beaters, rather than flopping over.
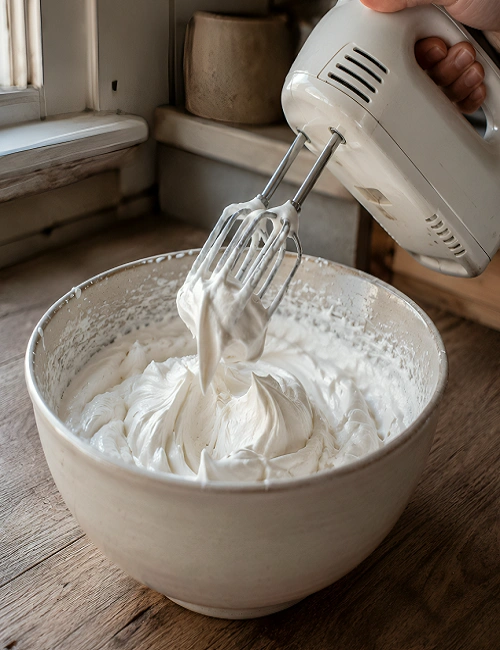
Once you get to this point, stop. Over-whipping starts to separate the fat from the liquid, giving the cream a grainy, buttery texture instead of a smooth one. If you see any graininess starting to appear, stop mixing immediately.
2. Add the Condensed Milk and Vanilla
In a separate bowl, stir together the sweetened condensed milk, vanilla extract, and salt (if using) until smooth.
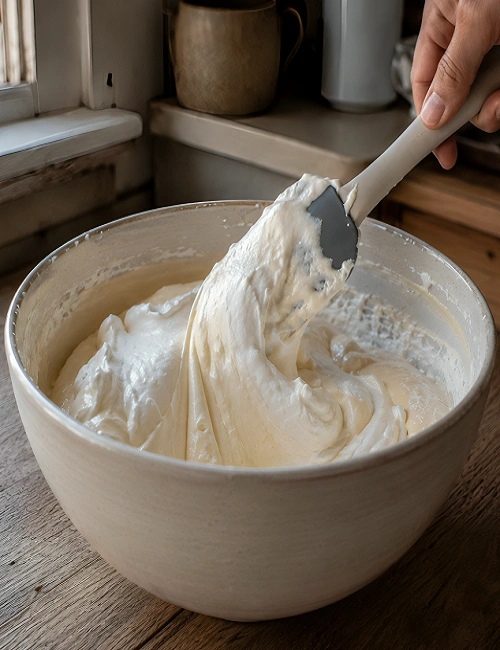
Add about a third of the whipped cream to the condensed milk mixture and fold it in gently with a spatula. This lightens the mixture so it’s easier to combine with the rest of the cream.
Then add the remaining whipped cream and fold, don’t stir using a scooping, turning motion. Folding keeps the air bubbles in the cream intact, which is what gives no-churn ice cream its light, scoopable texture instead of a dense, icy one.
3. Add Optional Mix-Ins
If you’re adding mix-ins, fold them in now, once the base is fully combined. A cup measurement is a reasonable start, much more than that and the mix is too thick to contain air properly.
A few options that work well:
- Mini chocolate chips or chopped chocolate
- Crushed cookies (such as chocolate sandwich cookies)
- Fresh or frozen fruit, chopped small
- Toasted nuts
- Swirls of caramel or fruit preserves, added last with just a couple of folds so they stay ribboned rather than fully mixed in
4. Freeze the Ice Cream
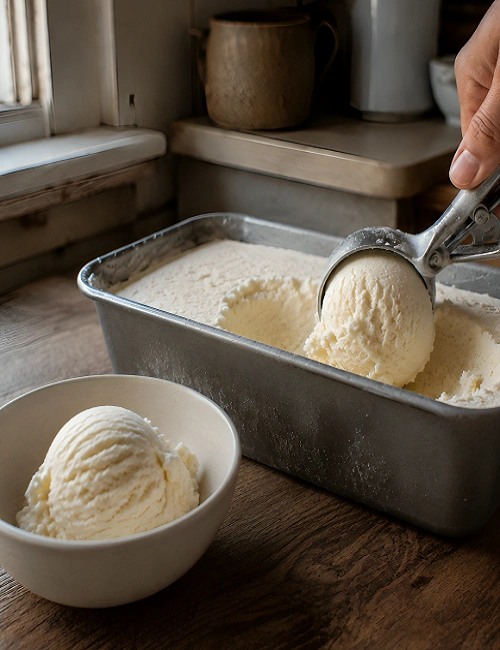
Pour the mixture into a freezer-safe container; a loaf pan or airtight container both work well. Spread it into an even layer, since a flatter layer freezes more evenly than a deep one.
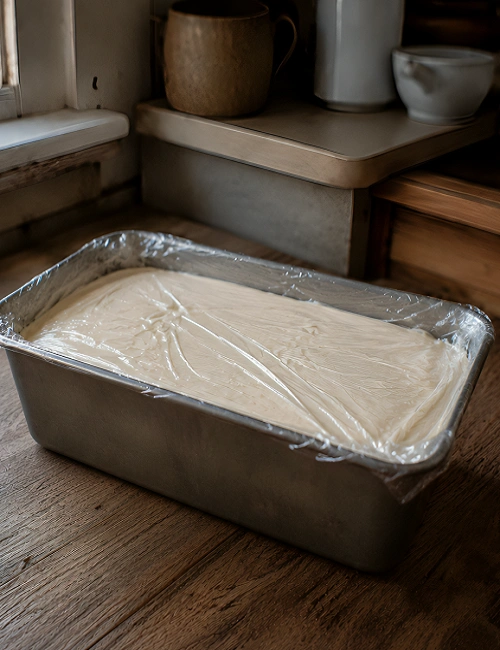
Cover tightly with a lid, or with plastic wrap pressed directly against the surface, to limit ice crystals from forming. Freeze for at least 6 hours, though overnight will give you a firmer, more scoopable result.
(If you want an exact minimum freeze time for your specific container size, it’s worth checking freezing time can vary depending on how deep the layer is.)
5. Scoop and Serve
Once frozen, the ice cream should scoop like a typical store-bought pint. If it’s too firm straight out of the freezer, let it sit at room temperature for 5–10 minutes before scooping.
Tips for Creamy No-Churn Ice Cream
- Cool your bowl and beaters before beating the cream. Cold equipment helps the cream whip up faster and hold its structure better.
- Fold, don’t stir. Stirring knocks air out of the mixture, which is what leads to a denser, icier texture once frozen.
- Do not use a deep container. Instead, use one that is wide and shallow. It is easier to scoop out and more of it freezes.
- Press plastic wrap directly onto the surface before sealing the lid to cut down on ice crystals forming from trapped air.
- Don’t skip the salt. Even a small pinch sharpens the sweetness and makes the flavor taste more balanced rather than flat.
Easy Flavor Variations
Chocolate: Fold in 1/3 cup cocoa powder with the condensed milk mixture before combining with the whipped cream, or fold in melted, cooled chocolate at the end.
Strawberry: Fold in 3/4 cup finely chopped strawberries mixed with a tablespoon of sugar, left to sit for a few minutes to release some juice first.
Mango: Fold in 3/4 cup mango puree, either fresh or from frozen mango blended smooth.
Cookies and Cream: Fold in about 1 cup of coarsely crushed chocolate sandwich cookies.
For any add-in with extra liquid (like fruit purees), drain off excess juice first so the mixture doesn’t get too watery, which can lead to a softer, less scoopable final texture.
Common Mistakes to Avoid
Over-whipping the cream
This is the most common issue with no-churn ice cream. Watch for stiff peaks and stop there.
Using warm condensed milk
Cold ingredients combine more smoothly and help the cream keep its volume.
Using low-fat cream or a cream substitute
Heavy whipping cream needs a high enough fat content to whip to stiff peaks. Lighter creams won’t hold structure, which keeps the final ice cream from setting properly.
Not tasting the mixture before freezing
Once the ice cream is frozen, it’s much harder to adjust the sweetness or flavor. Taste the base before pouring it into the container.
Overloading with mix-ins
Too many extras can weigh the mixture down and prevent it from freezing into a light, scoopable texture.
Storage notes: Keep covered tightly in the freezer, with plastic wrap pressed against the surface before sealing. Properly stored, no-churn ice cream typically stays good for 2–4 weeks, though texture and flavor are best within the first week or two.
FAQs
Can homemade ice cream be made without special equipment?
Yes. This no-churn method uses whipped cream to create the light, airy texture that a machine would normally produce by churning the mixture as it freezes.
Why is my homemade ice cream icy?
This is usually caused by ice crystals forming from air exposure or excess liquid in the mixture. Make sure the cream is whipped to stiff peaks, fold gently to preserve air, and cover the surface tightly before freezing.
Why does no-churn ice cream not get creamy?
No-churn ice cream can freeze firmer than store-bought versions since it doesn’t contain stabilizers. Letting it sit at room temperature for 5–10 minutes before scooping usually softens it enough.
Can I make it without condensed milk?
Condensed milk provides both the sweetness and some of the smooth texture in this recipe, so leaving it out will change the result. (If you’re looking for a specific substitution, it’s best to look for a recipe built around that swap, since it will affect the ratios.)
How many hours does homemade ice cream need to freeze?
At least 6 hours, though overnight tends to give a more scoopable texture. (For your specific container depth, freezing time may vary to check for firmness before serving.)

Rachel Bradley is a food writer and recipe developer with a love for home cooking and global flavors. She has spent years testing recipes in her kitchen, exploring everything from quick weeknight meals to traditional dishes from around the world. Her goal is simple — make great food accessible to everyone.